主控安装
环境要求
注意:目前只支持 Centos7 版本
一键安装
推荐使用 一键安装,更简单方便且不容易出错。
1. CDN2.0主控安装
Centos安装脚本
yum install -y wget && wget -O install.sh http://download.antsxdp.com/master20/install_2.0.sh && sh install.sh2. 登录管理端
管理端登录地址及账号密码
http://您的主控IP/admin/

登录账号:admin

登录密码:123456
3. 登录客户端
客户端登录地址及账号密码
http://您的主控IP/users/

登录账号:demo

登录密码:123456
宝塔环境下安装
1. 安装宝塔
宝塔安装命令
yum install -y wget && wget -O install.sh http://download.bt.cn/install/install_6.0.sh && sh install.sh ed8484bec配置LNMP环境
MySql: 版本
5.6,(备注:2.0系统要求MySql 版本为5.6);Nginx: 版本
1.22;Phpmyadmin: 版本
4.9;PHP: 版本
5.6。

2. CDN2.0主控安装
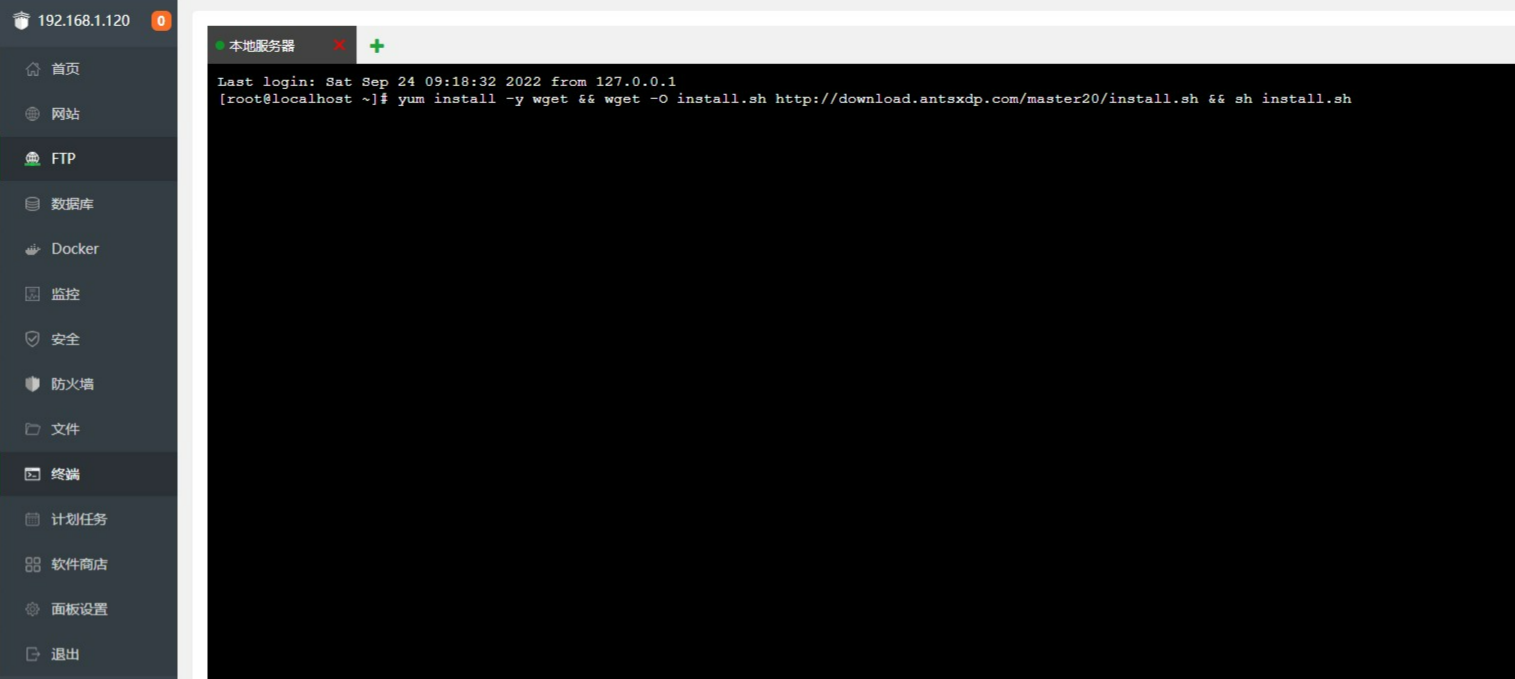
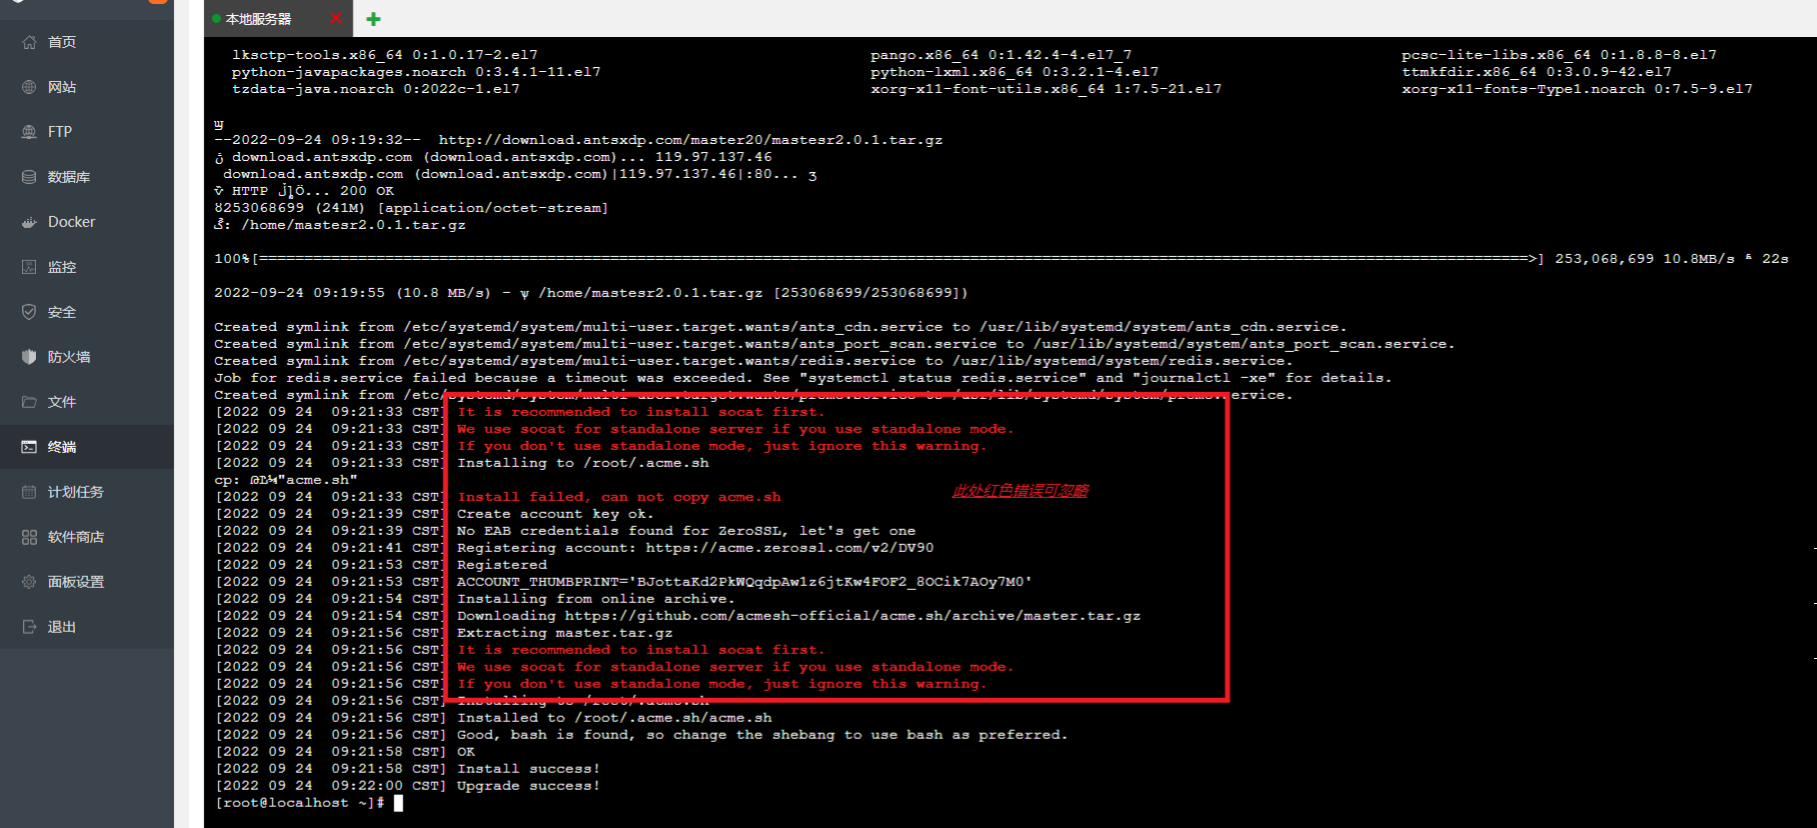
主控安装命令:
yum install -y wget && wget -O install.sh http://download.antsxdp.com/master20/install.sh && sh install.sh
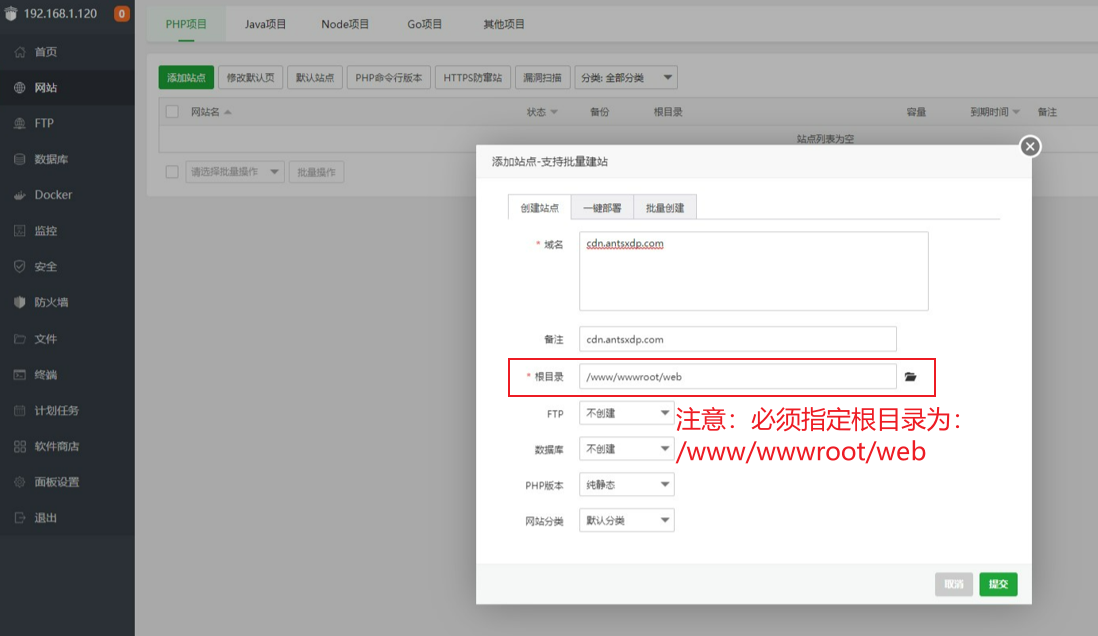
- 创建站点:
注意
必须指定站点根目录为:/www/wwwroot/web
- 配置反向代理:
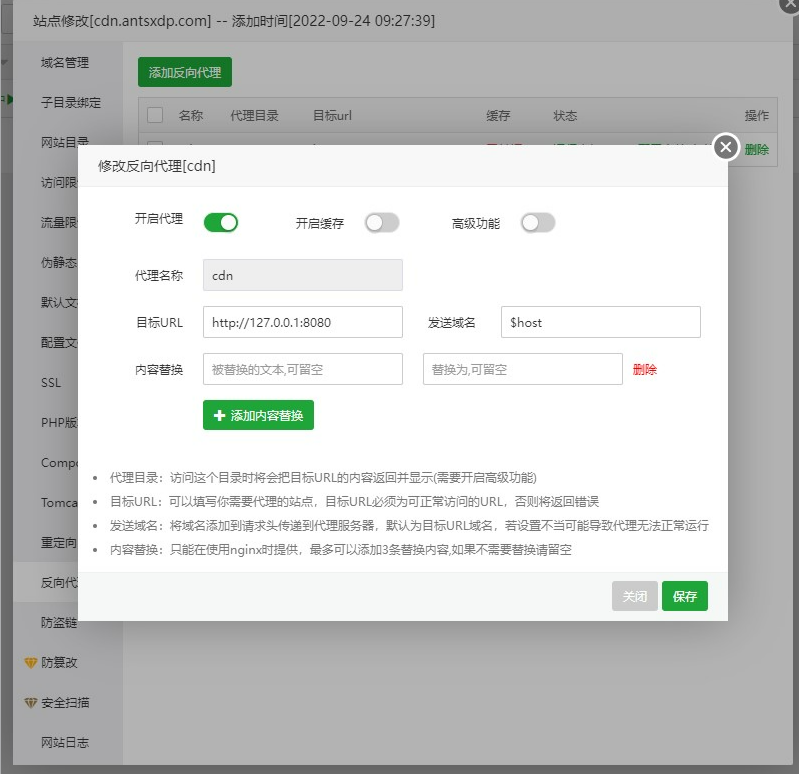
修改代理配置文件如下:
location /antsxdp/
{
  proxy_pass http://127.0.0.1:8080;
  proxy_set_header Host $host;
  proxy_set_header X-Real-IP $remote_addr;
  proxy_set_header X-Forwarded-For $proxy_add_x_forwarded_for;
  proxy_set_header REMOTE-HOST $remote_addr;
  proxy_set_header X-Forwarded-Proto  $scheme;
  proxy_set_header Upgrade $http_upgrade;
  proxy_set_header Connection $connection_upgrade;

  add_header X-Cache $upstream_cache_status;
    proxy_ignore_headers Set-Cookie Cache-Control expires;
    add_header Cache-Control no-cache;
}

location /nodedownload
{
  alias  /usr/ants/cdn-api/upload/;
}
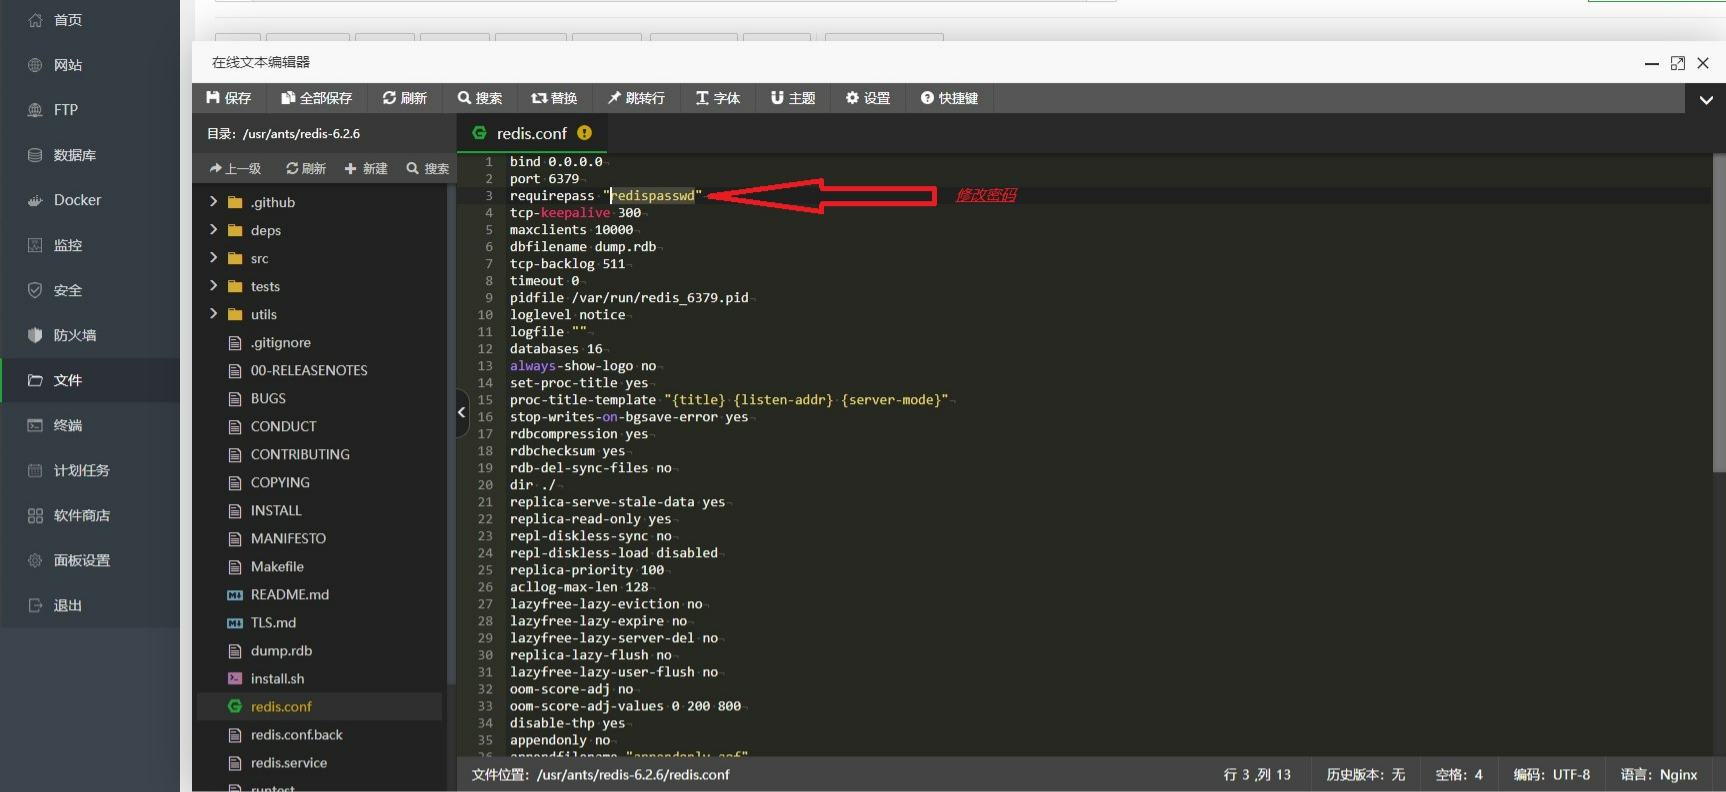
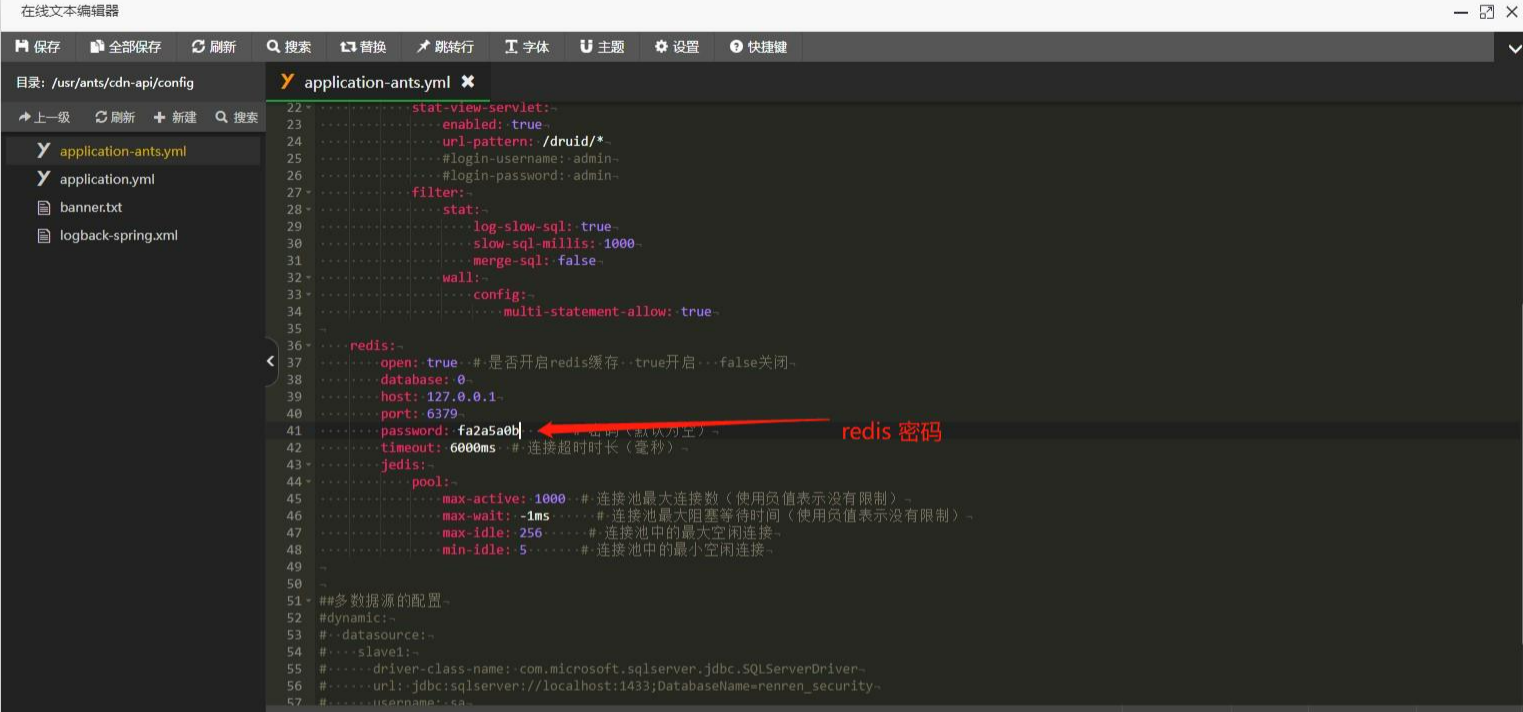
3. 修改 Redis 密码
打开redis配置文件:
/usr/ants/redis-6.2.6/redis.conf;修改redis密码为:
fa2a5a0b;重启redis 让新密码生效
pkill redis。

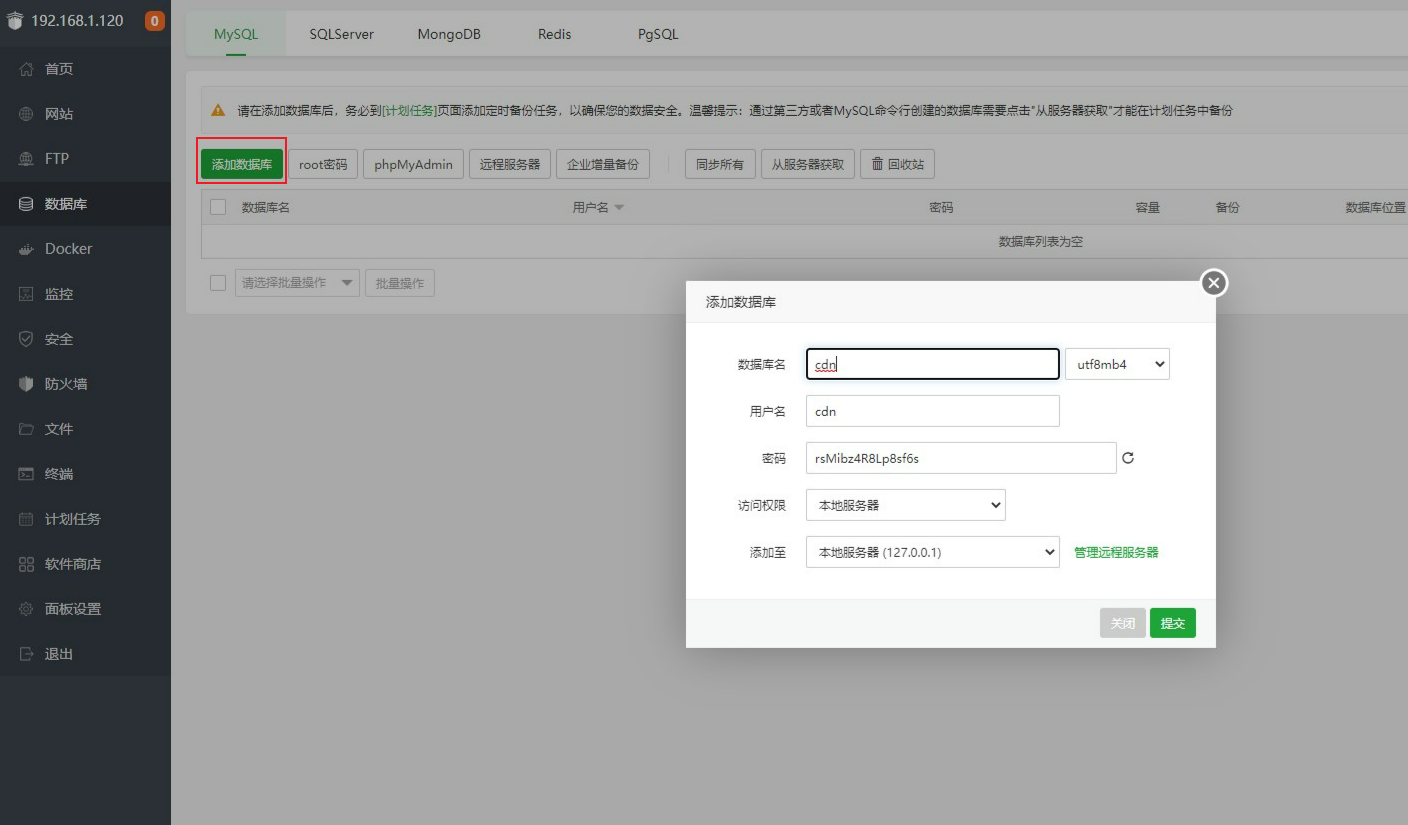
4. 创建 MySql 数据库
数据库下载地址:
https://download.antsxdp.com/master20/cdn.sql建立cdn数据库,设置MySql连接密码:
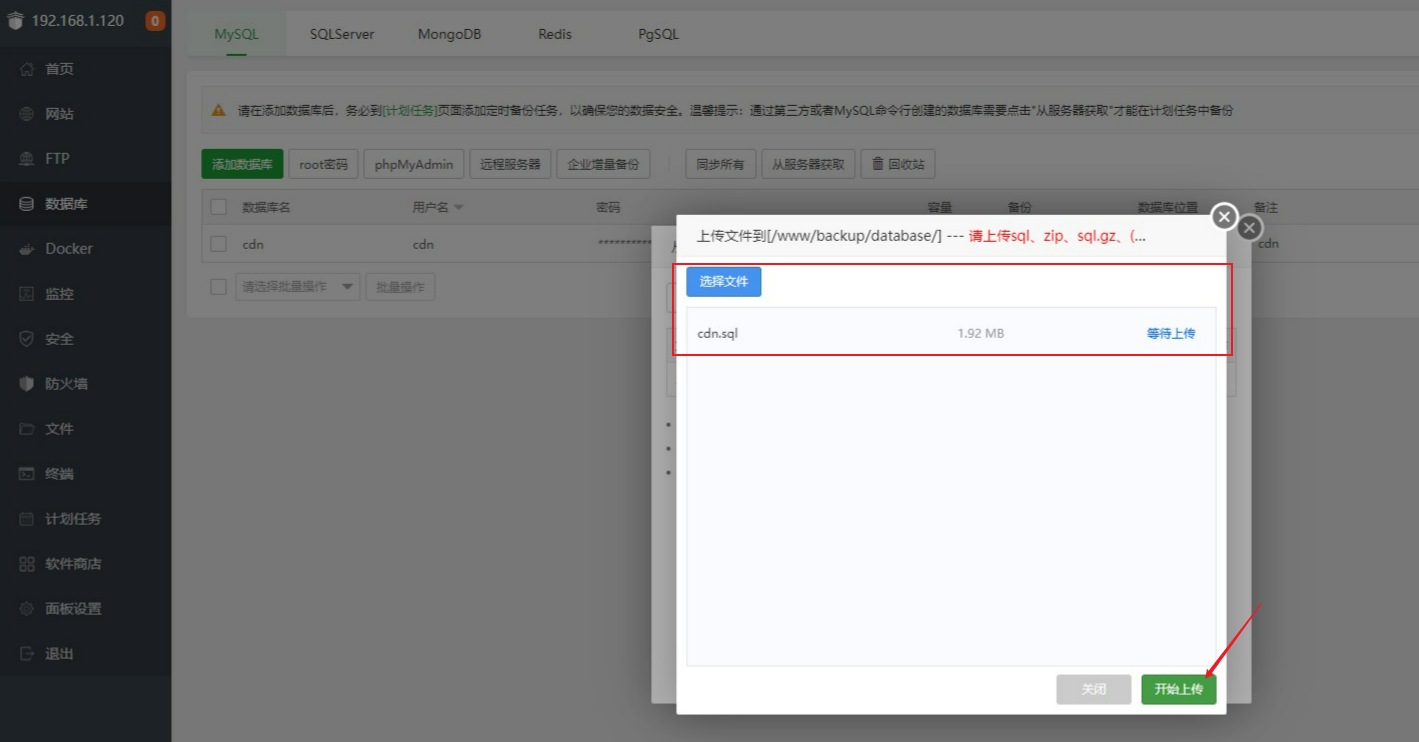
- 导入数据库
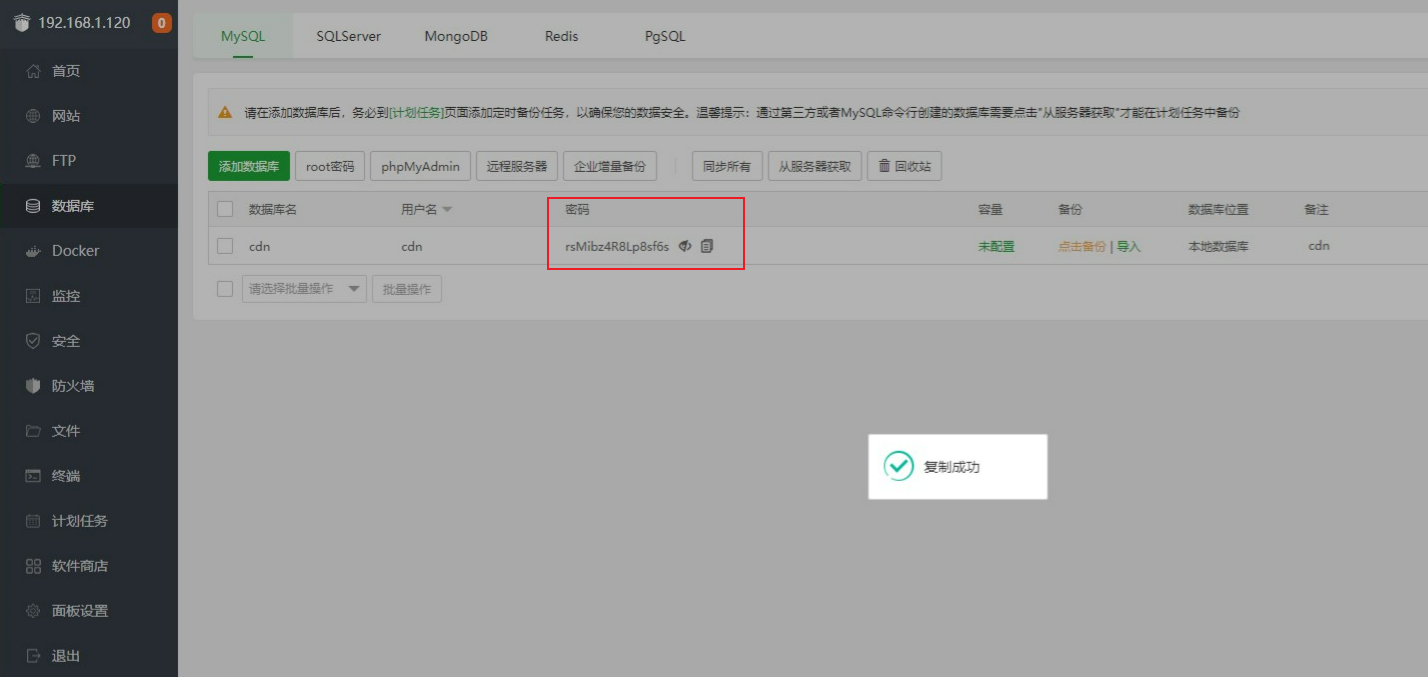
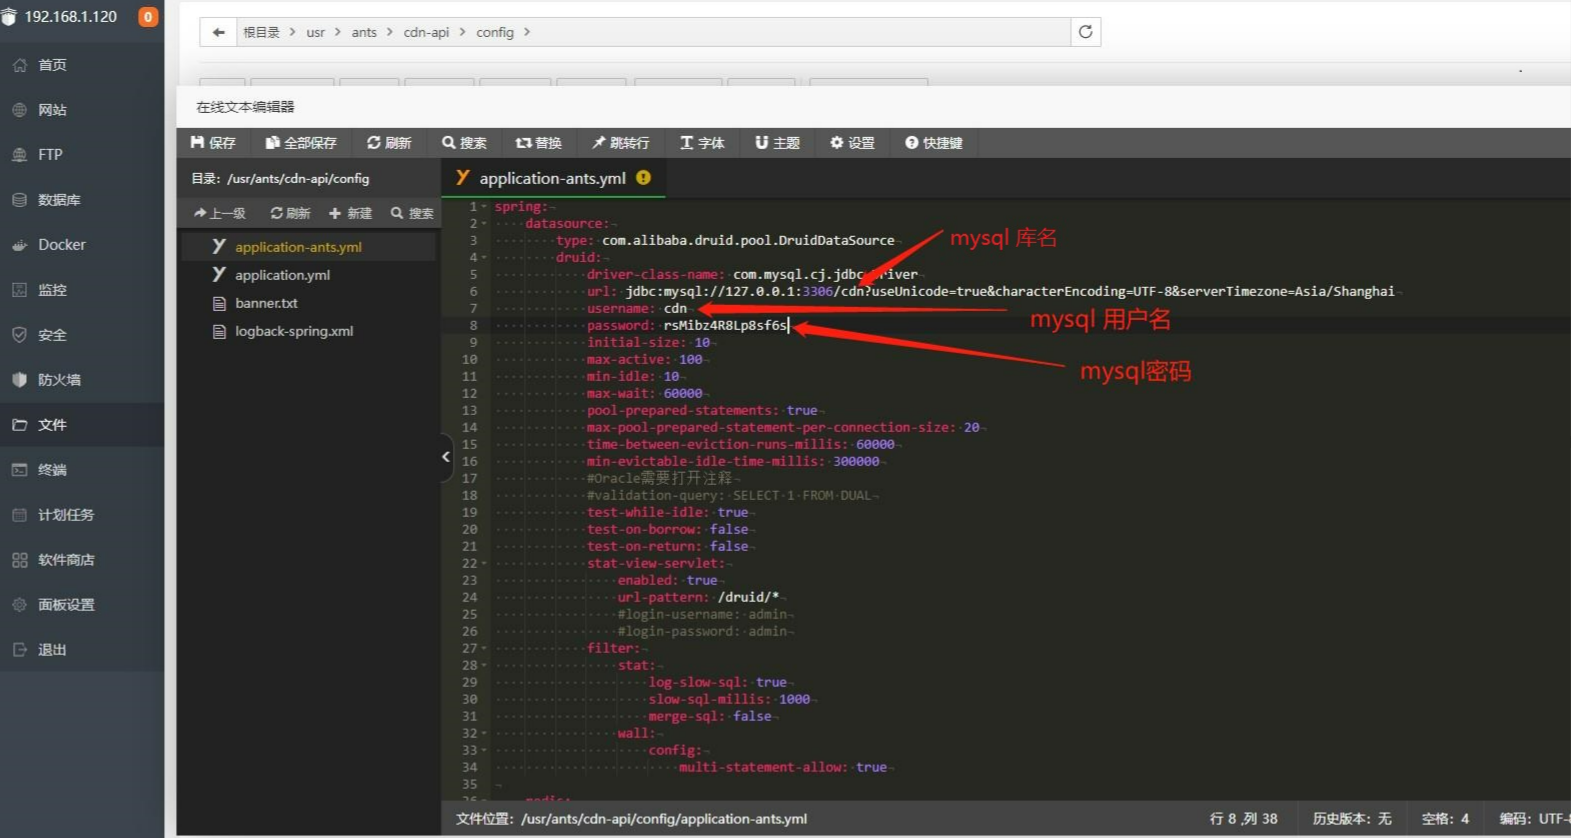
5. 主控 MySql 与 Redis 数据库连接
- 复制MySql密码
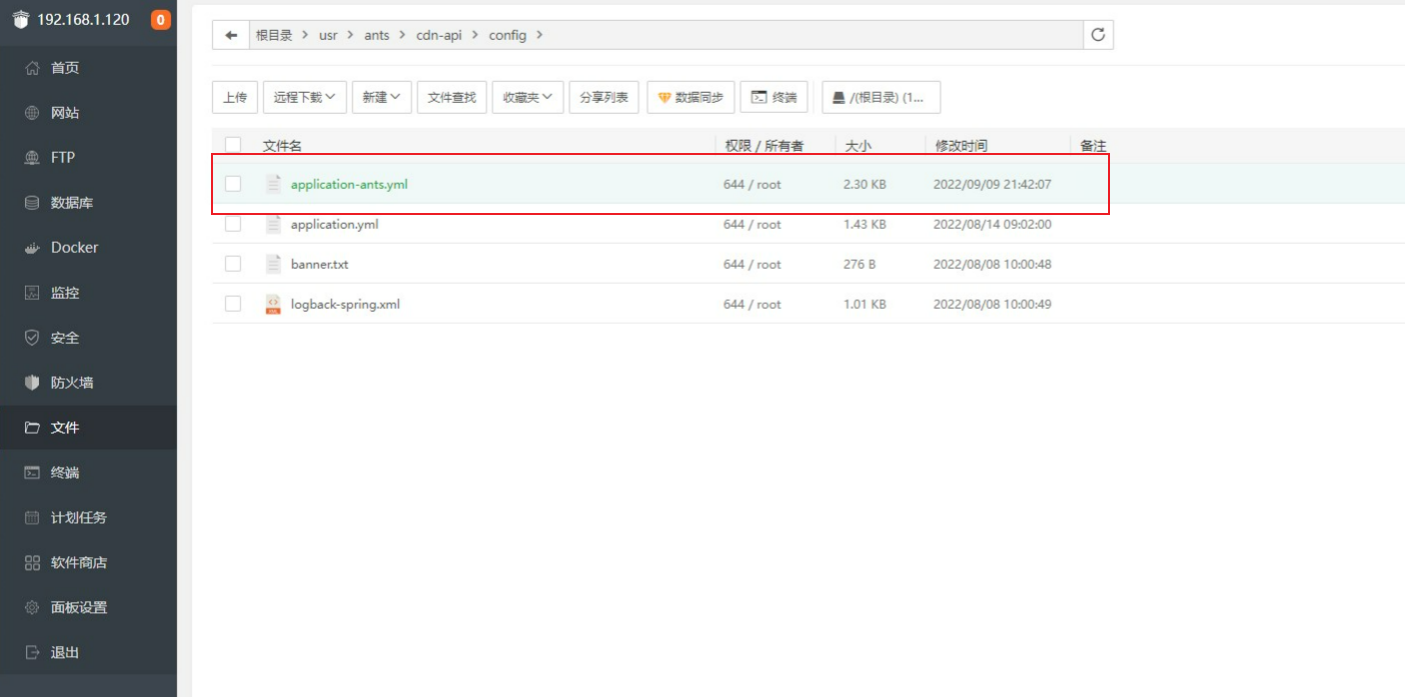
- 打开配置文件:
/usr/ants/cdn-api/config/application-ants.yml
- 修改MySql链接配置参数:
数据库名、用户名、密码。
- 修改redis配置参数
- 重启主控JAVA生效:
/usr/ants/cdn-api/start.sh。

6. 登录管理端
http://您创建的站点/admin/

登录账号:admin

登录密码:123456
7. 登录用户端
http://您创建的站点/users/

登录账号:demo

登录密码:123456